Park Tech : How to programme NFC Tags
Programming an NFC tag is a very simple process, however it’s worth noting that whilst newer iPhones can read tags, many cannot write tags, so you should use an Android phone to programme your tags.
What is an NFC tag and where can I get them
If you use a debit card with contactless payment you a using a near field communication tag – of an NFC tag. It’s a micro-chip embedded in your card. When you wave your card near an NFC reading machine the reader senses the chip and reads information from it.
The tags can be useful in parks because they don’t need to be connected to electricity. They use the power from the phone when people read the tag.
They come in all shapes and sizes, small sticky labels, plastic discs, keyrings, wristbands, id card sizes. For the Cotteridge Park experiment, we bought some self adhesive discs and popped them behind some 80mm square signs that we screwed onto posts in the park.
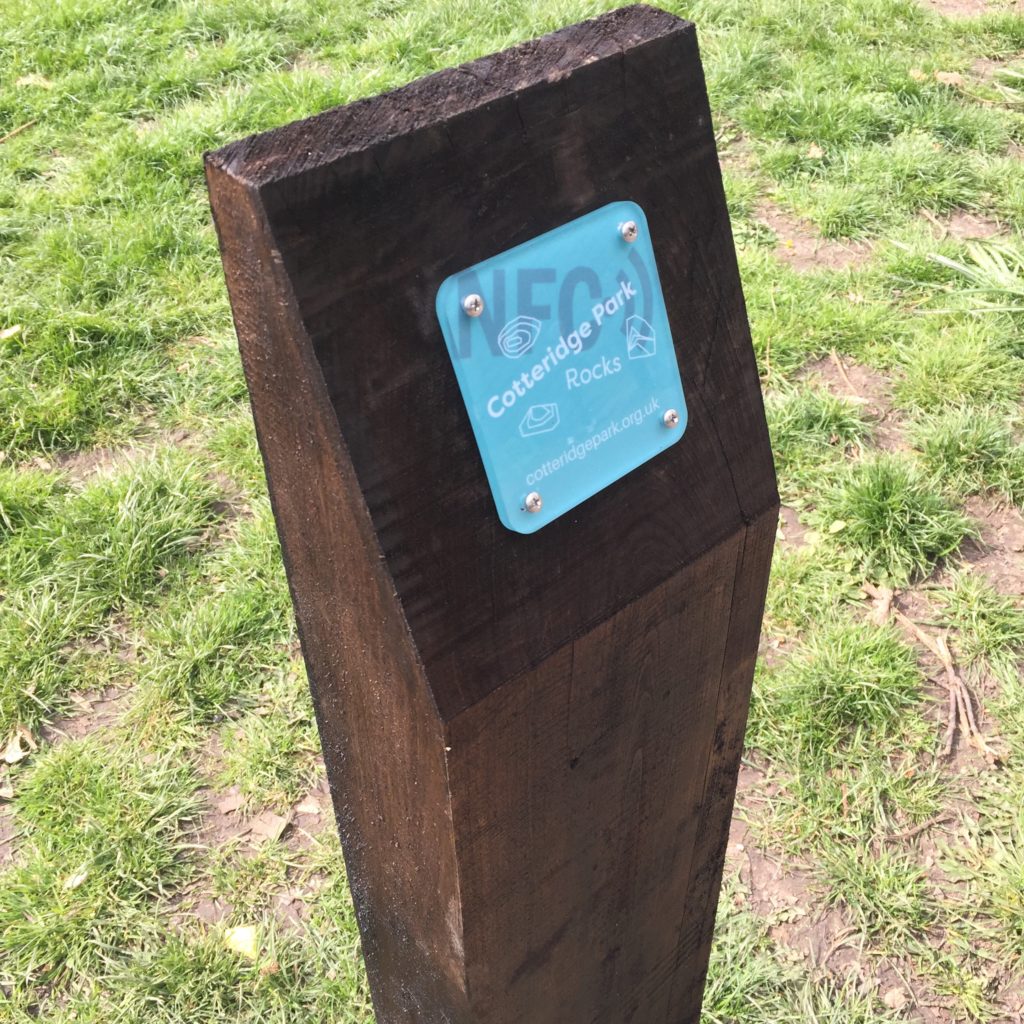
When someone uses their phone to ‘read’ the NFC tag it links their phone to a youtube video telling the history of that part of the park.
The first time people try it it can be slightly awkward – but they quickly get used to it and share the skill between them.
Take a look at the video below.
Does my phone have NFC?
To check if your phone has NFC capabilities, just go to Settings. Under ‘Wireless and Networks’, tap on ‘More’. Here, you will see an option for NFC, if your phone supports it. If you can’t find this setting it is sometimes found under the same menu as your phone’s Bluetooth settings.
You could also Google your phone model and check on the manufacturer’s website whether it supports NFC.
1. Choosing an App
You need to install an app on your phone in order to program your tags. There are lots of free NFC apps available on the Google Play Store for Android, we recommend NFC Tools which is free, but if you’d like some additional features and would like to thank the developers for their work you can buy NFC Tools Pro Edition for less than the price of a cup of coffee.
2. Writing a Tag
Once you’ve installed your app, get your tag ready to begin writing content to it.
You can write all kinds of info and actions to NFC tags, including things like links, text, locations, and web searches. You can also make them send a text or email, call a number on your phone, set alarms, all sorts!
In this example we’re going to program the tag with a website address, allowing those who scan it to visit a website.
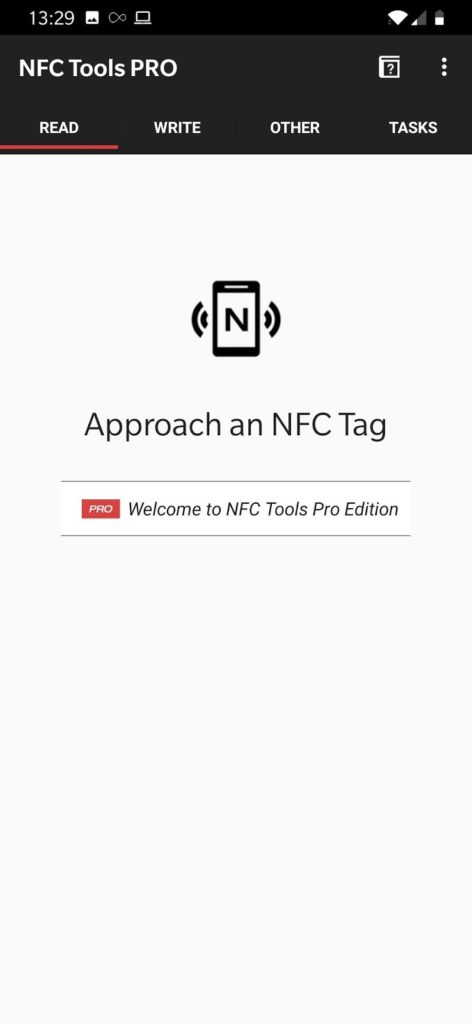
When you open NFC Tools you’ll begin on the ‘read’ screen, tap on ‘write’ on the menu and then tap on ‘add a record’.

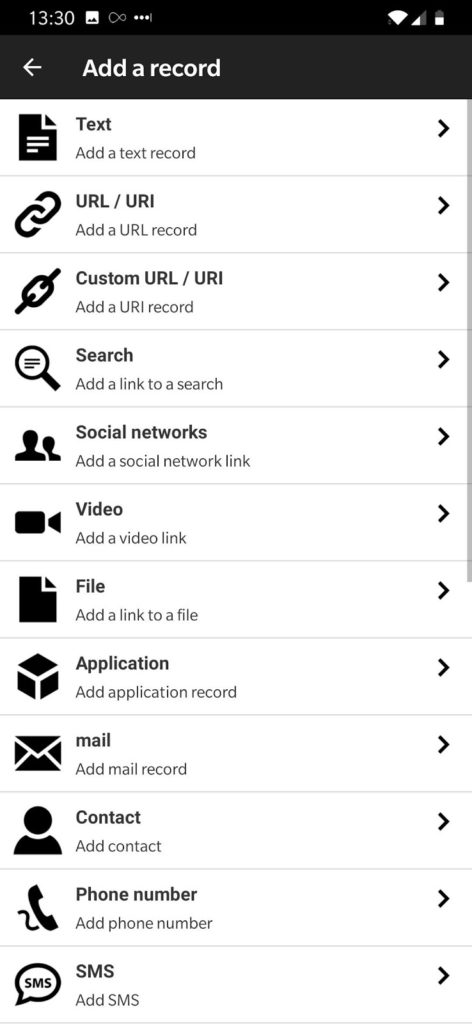
Once you’ve tapped on ‘add a record’ you’ll be asked what type of record (information) you’d like to write – choose ‘URL / URI – Add a URL record’.
Next you’ll be asked to enter the website address you’d like the tag to take people to.
This can be any page on the internet. It might be your website’s homepage, but it could be a contact form, a photo, a link to a document – whatever you want!
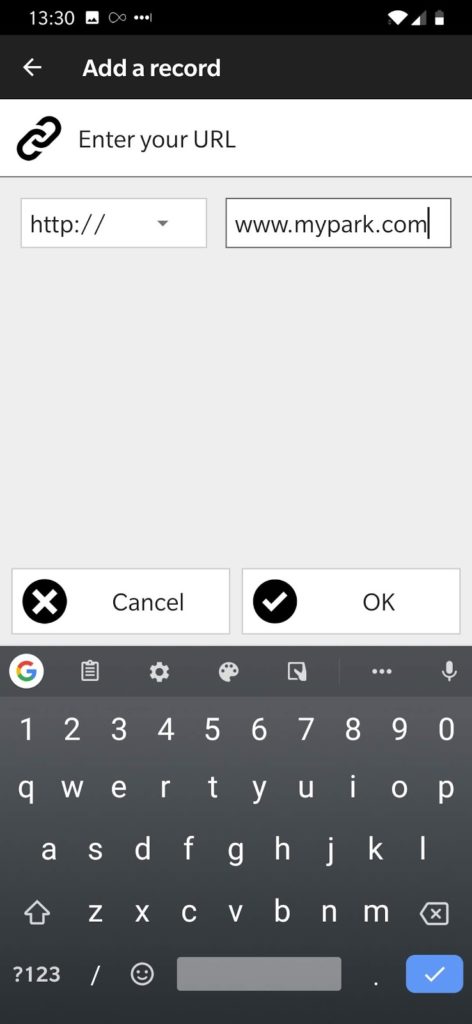
Tap the ‘OK’ button once you’ve entered your web / link address.
Tip: Don’t forget you can use the copy & paste function on your phone to speed this process up!
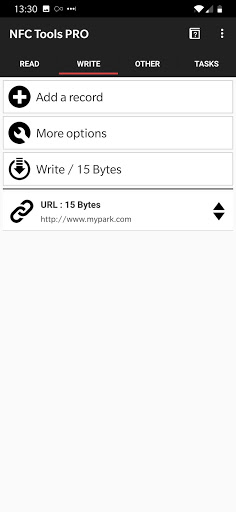
Now we’re ready to write the information to the tag!
You will see a summary of the information you are about to write to the tag and listed here is the website address – tap on ‘Write’ above the website address…
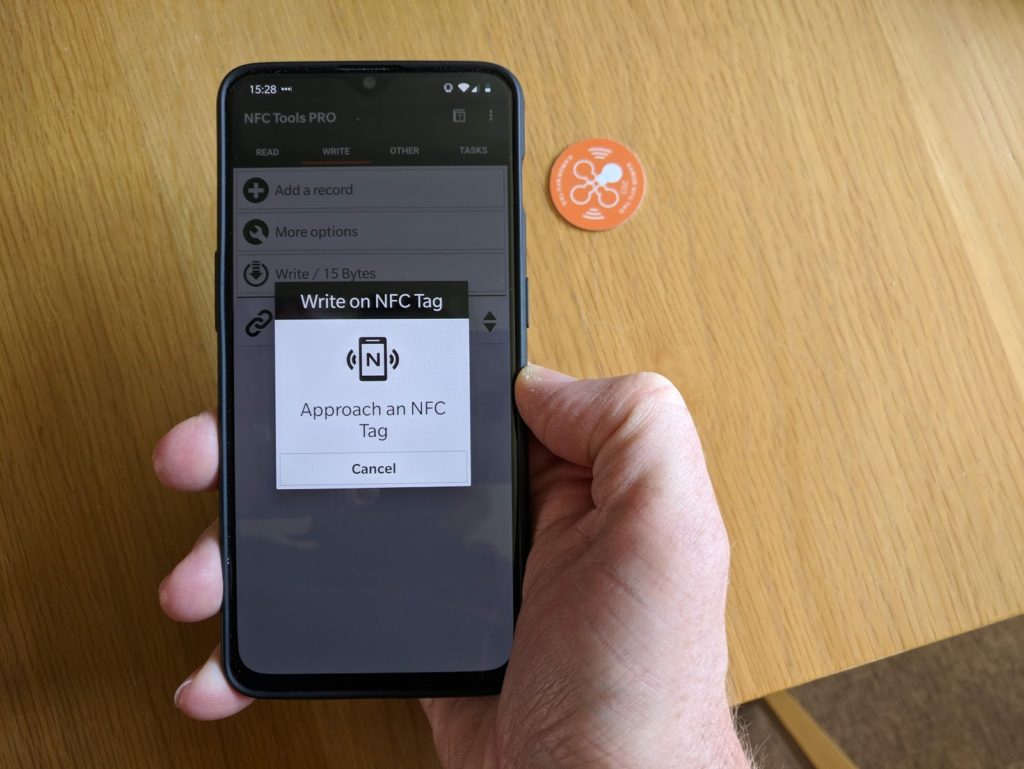
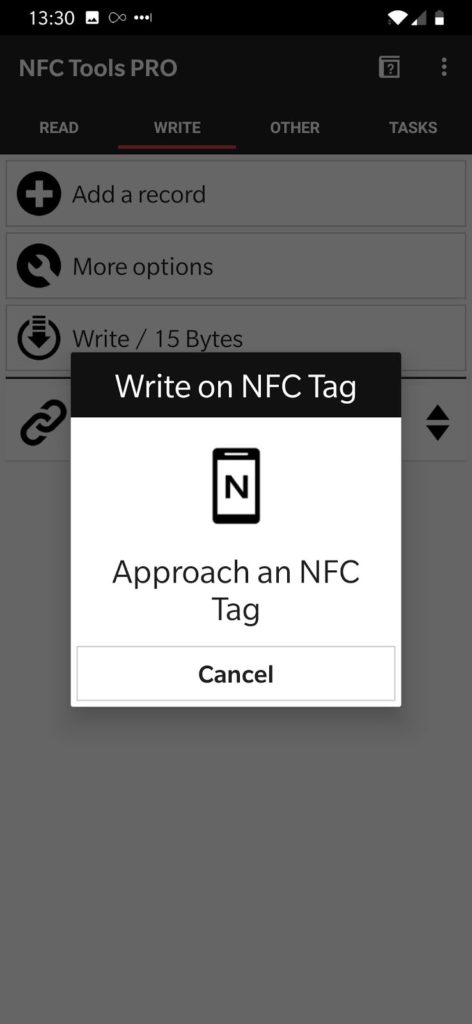
Next you’ll get the message to ‘Approach an NFC Tag’ – this is where you’ll have to wave your phone close over your tag in order to write the information.
This can be a little tricky as the tags aren’t very big and the NFC chip in your phone is even smaller, so sometimes it takes a while waving your phone around over the tag to get the sweet spot. Make sure your phone is really close to the tag, you can actually touch the tag with the phone.
Once you’ve done this a few times, you’ll get used to where that chip is in your phone.
Once you’ve found the spot, you’ll be greeted with a confirmation message saying ‘Write Complete!’ – you’ve now written your NFC tag!
*If you get an error message saying the attempt to write has failed/was unsuccessful, just try again and it will most likely work on the second attempt!
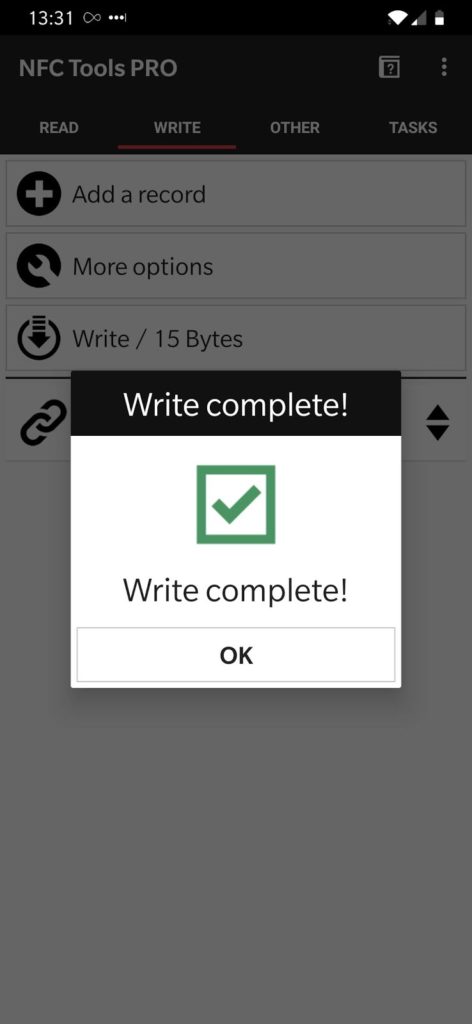
Now your tag has been written and any device with NFC that scans it will open up your website link.
3. Locking a Tag
As you’ve now seen, writing an NFC tag is pretty easy, but if you’re going to stick them in public places that means re-writing them is also very easy! So to protect your tags from being mischievously re-written by ‘digital vandals’ we’re going to lock the tag so it can’t be edited.
Once you lock a tag it can never be deleted or re-written, it’s essentially programmed with the info forever and can’t be reused, so just be sure the info is correct before you lock it.
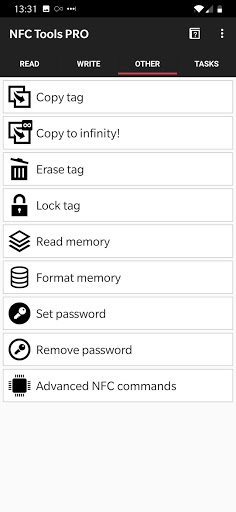
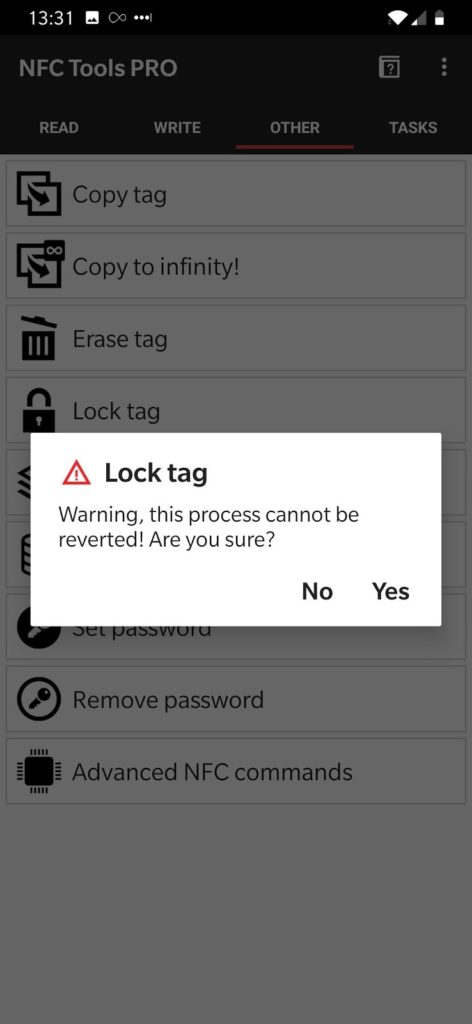
Locking is easy – this time we go to the ‘Other’ menu in the NFC Tools app and choose ‘Lock Tag’ – you’ll see a warning asking if you’re sure you want to lock the tag – tap ‘yes’.
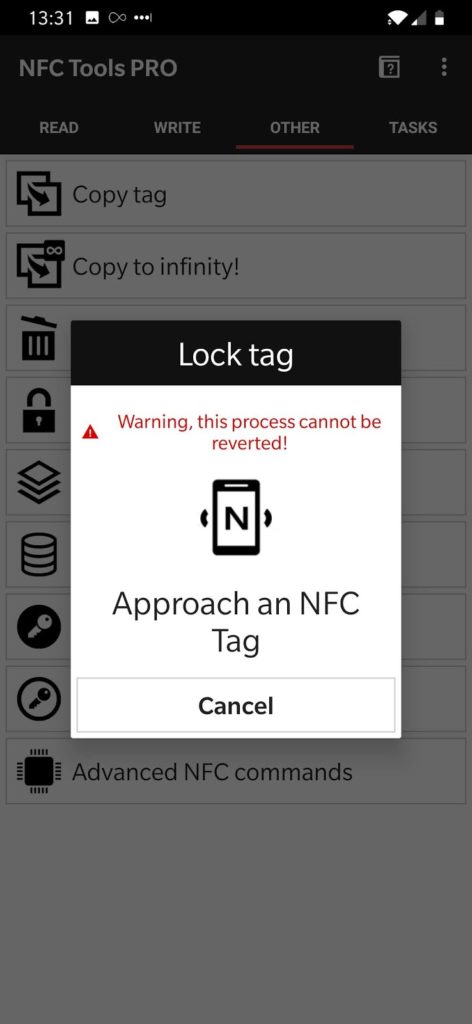
When you see the ‘Approach an NFC Tag’ message, just wave your phone over the tag the same as you did when writing and the tag will be locked. You’ll then receive a confirmation message and your tag is locked and can’t be edited.
This guide was written by Nick Booth and James Clarke of Podnosh in April 2019 (so may become out of date). It is part of a wider project set up by the Friends of Cotteridge Park to use mapping and other digital skills to tell the story of the park and archive their work. That work was funding by a grant from the National Lottery Heritage Fund.
![]()
Posted on 21st May 2019
Connect with us
@BOSFonline